
The purpose of this blog post is to learn Camunda BPMN by example workflow.
We have used the same example which is described in below github repository.
Installing Zeebe
- We are using community version of Zeebe and related Helm charts. You can find the Helm charts below.
GitHub - camunda-community-hub/camunda-cloud-helm: Contains all camunda cloud related helm charts
- Also we are using minikube as Kubernetes cluster.
- Please note that I am using Ubuntu 18.04
1. Install Helm 3
$ curl -fsSL -o get_helm.sh https://raw.githubusercontent.com/helm/helm/main/scripts/get-helm-3
$ chmod 700 get_helm.sh
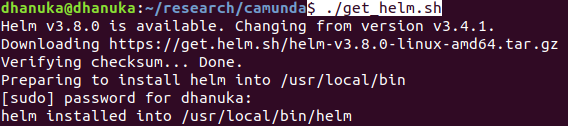
$ ./get_helm.sh

2. Add Camunda Helm repository
$ helm repo add zeebe https://helm.camunda.io
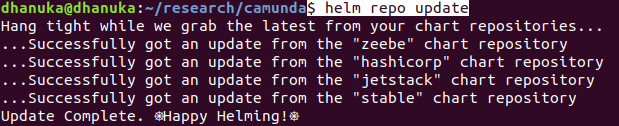
$ helm repo update
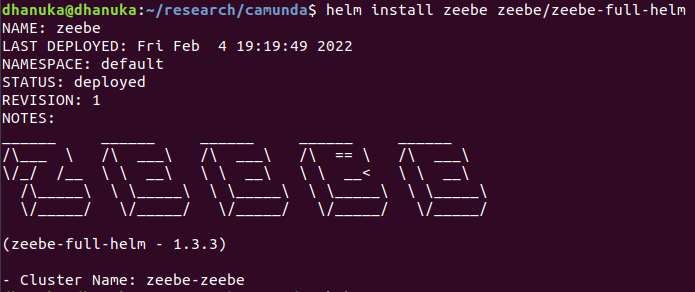
$ helm install zeebe zeebe/zeebe-full-helm
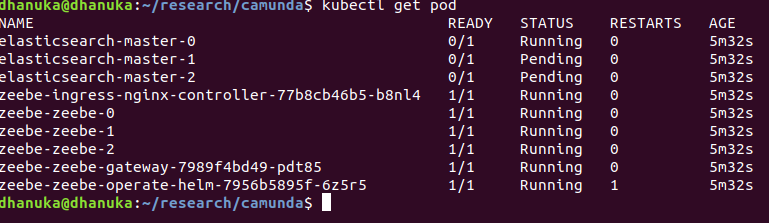
- You can see that Elasticsearch pods are still in pending state
3. Troubleshooting Elasticsearch Installation
As you can see that , two Elasticsearch pods still in pending status.
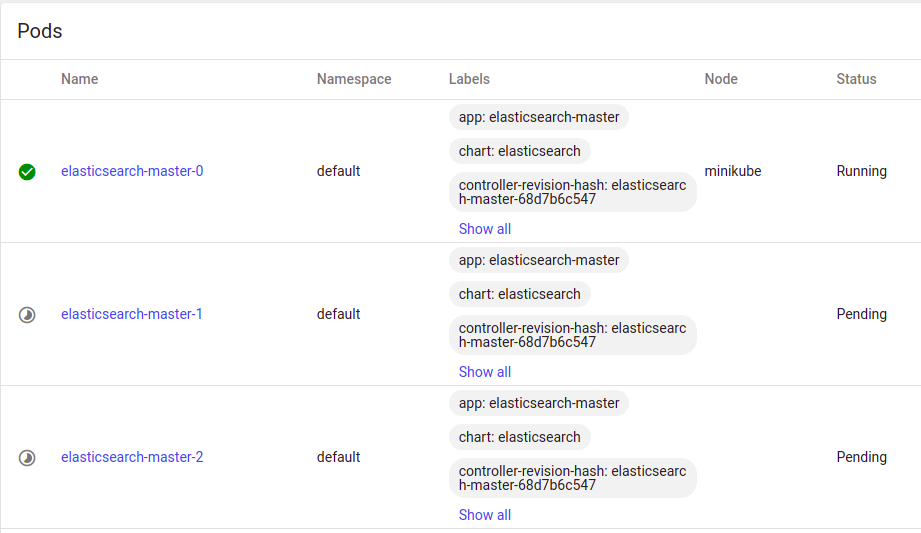
- According to below pods events says, "1 Node didn't match pod affinity"

- When we check the pod affinity of the statefulset, we can't deploy all the Elasticsearch instances in the same host machine
affinity:
podAntiAffinity:
requiredDuringSchedulingIgnoredDuringExecution:
- labelSelector:
matchExpressions:
- key: app
operator: In
values:
- elasticsearch-master
topologyKey: kubernetes.io/hostname
- Please check below document for further details
https://kubernetes.io/docs/concepts/scheduling-eviction/assign-pod-node/
Never co-located in the same node
The above example uses PodAntiAffinity rule with topologyKey: "kubernetes.io/hostname" to deploy the redis cluster so that no two instances are located on the same host. See ZooKeeper tutorial for an example of a StatefulSet configured with anti-affinity for high availability, using the same technique.
- The quickest solution is to change k8s elasticsearch-master statefulset .

$ kubectl edit statefulset elasticsearch-master
- We gonna make this a single Elasticsearch cluster by editing he configuration.
- We have to remove cluster.initial_master_nodes environment variable configuration
- Also add discovery.type as an environment variable.
#- name: cluster.initial_master_nodes
# value: 'elasticsearch-master-0,'
- name: discovery.type
value: single-node
- After editing, we can see single node Elasticsearch cluster.
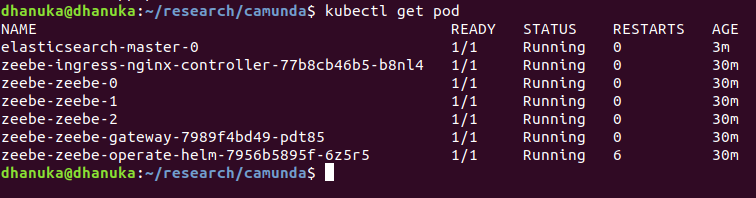
4. Port forwarding ingress-controller, zeebe-gateway and elasticsearch

kubectl port-forward svc/zeebe-ingress-nginx-controller 8080:80
kubectl port-forward svc/zeebe-zeebe-gateway 26500:26500
kubectl port-forward svc/elasticsearch-master 9200:9200
Camunda Operate
1. You can login to Camunda Operate using below link
password: demo


2. Installing Zeebe client
Download the client from below location
https://github.com/camunda-cloud/zeebe/releases
$ sudo mv zbctl /usr/local/bin/zbctl
Check the Zeebe cluster
$ zbctl status --insecure

Camunda Modeler
https://downloads.camunda.cloud/release/camunda-modeler/4.8.1/
2. Then execute the startup script as below
camunda-modeler-4.8.1-linux-x64$ ./camunda-modeler
3. Clone the github repository
https://github.com/dhanuka84/SAGA-Microservices-Zeebe.git
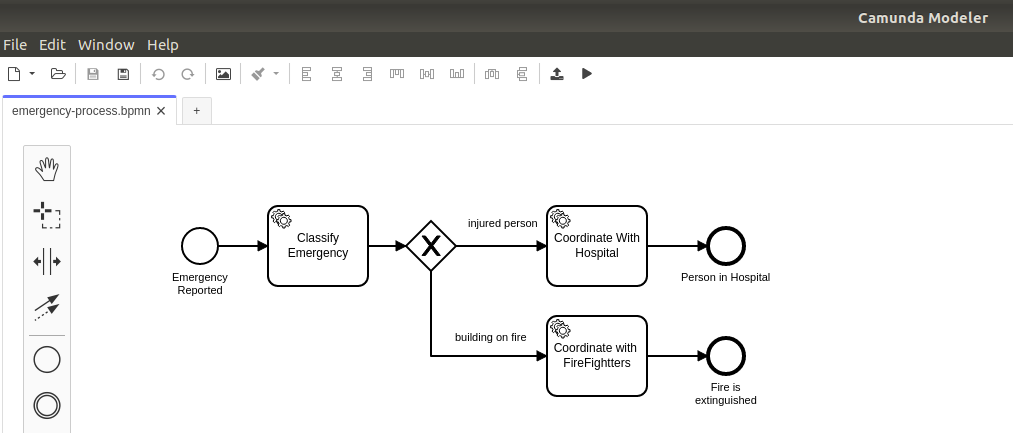
4. Open the emergency-process.bpmn BPMN workflow configuration

Deploying a BPMN Workflow Process
$ zbctl deploy workflows/emergency-process.bpmn --insecure
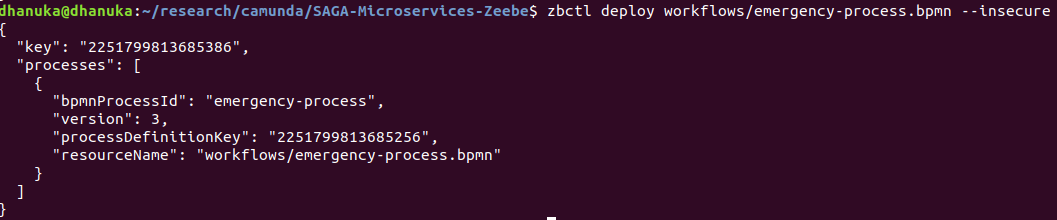
- We can use Zeebe client as above to deploy a BPMN process.
- Once deployed we can login to Camunda Operate and see check the Emergency Process that we have deployed.

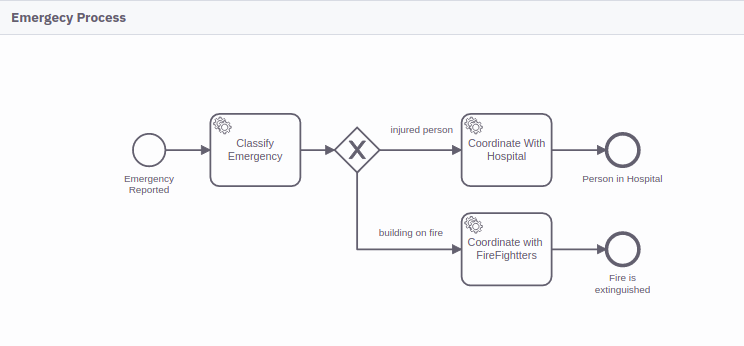
Deploy BPMN Instance
We can deploy the sample instances as below
$ zbctl create instance emergency-process --variables "{\"emergencyReason\" : \"person\"}" --insecure
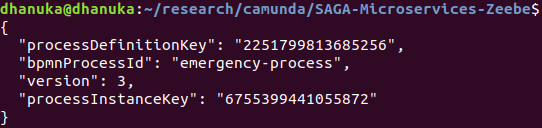
$ zbctl create instance emergency-process --variables "{\"emergencyReason\" : \"building on fire\"}" --insecure

- Operate view

- Two instances created for both person and building on fire.
- At this point, you will see that they are both stuck at the
Classify Emergencytask. This is because you don't have workers for such tasks, so the process will wait in that state until we provide one of these workers.

Starting a simple Spring Boot Zeebe Worker
cd src/zeebe-worker-spring-boot/
mvn clean package
mvn spring-boot:run

- The worker is configured by default to connect to
localhost:26500to fetch Jobs. If everything is up and running the worker will start and connect, automatically completing the pending tasks in our Workflow Instances. - You can see the completed events.
- Once tasks are completed , there wont be any active instances.
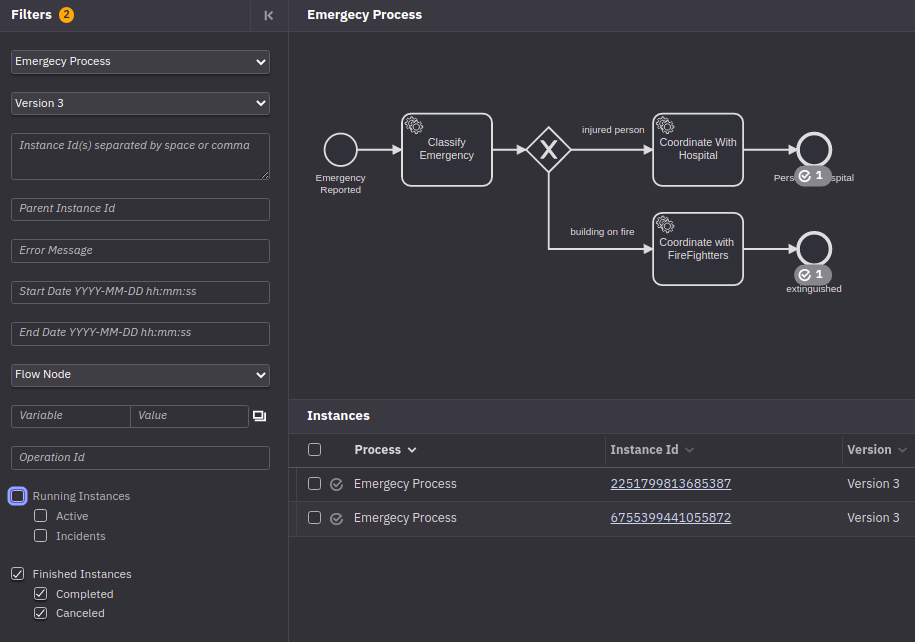
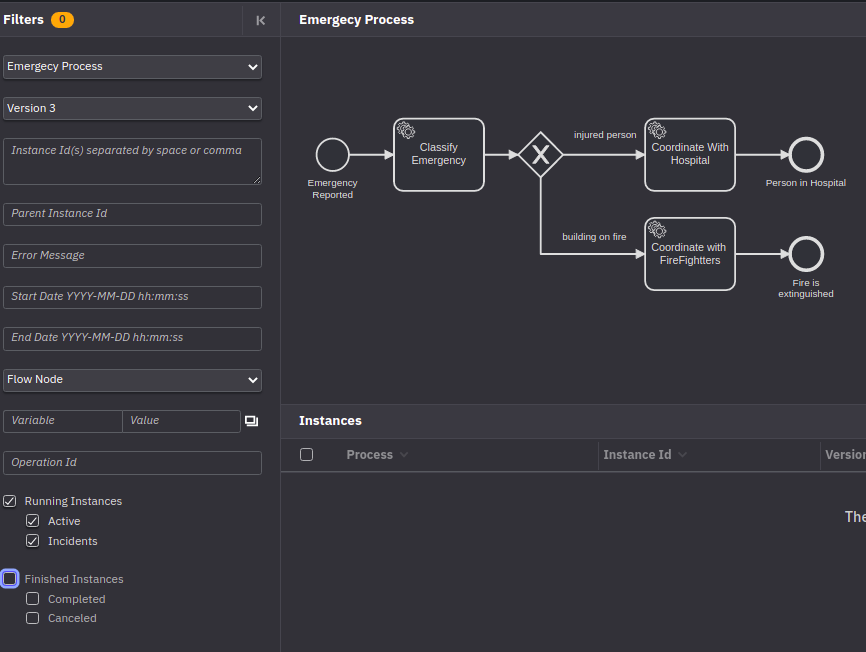
Understanding the BPMN workflow.
- In the Camunda Operate, once you click one of a instance id, it will navigate to Instance History view.
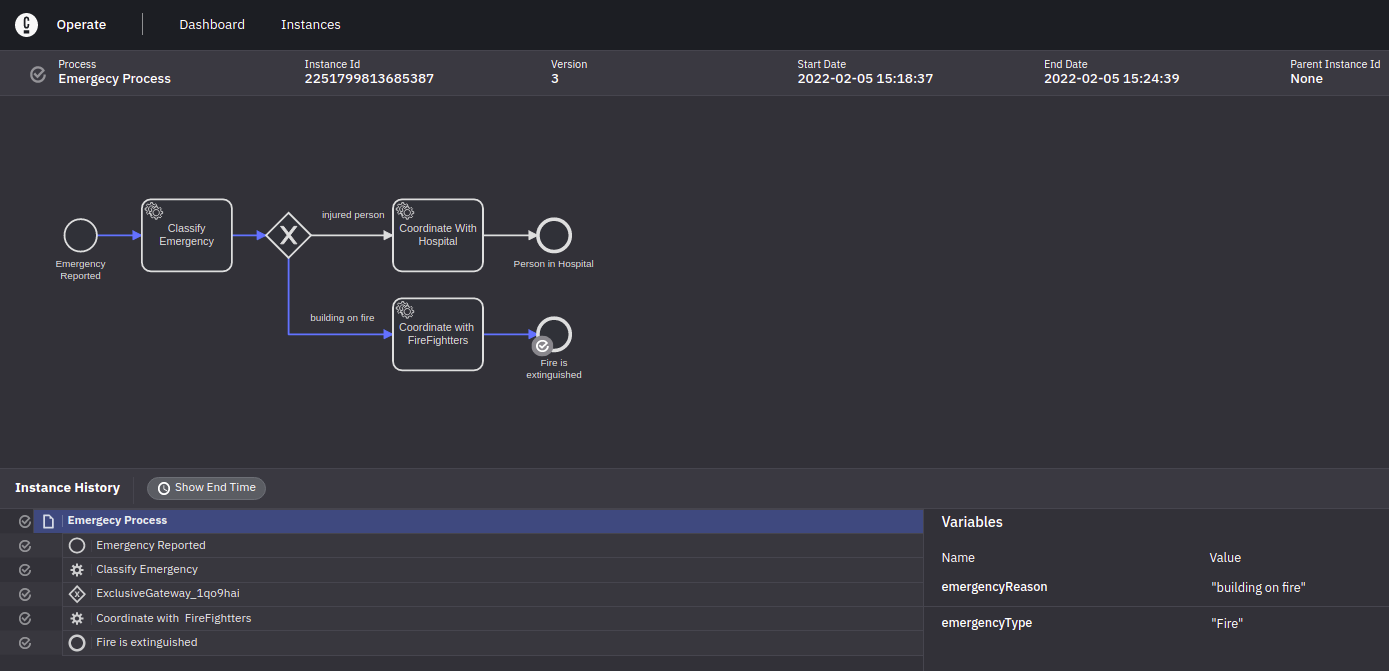
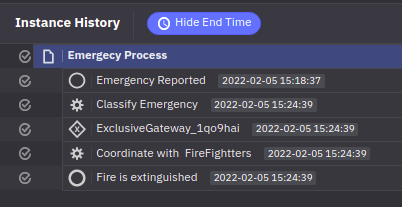
- Let's check the BPMN configuration: https://github.com/dhanuka84/SAGA-Microservices-Zeebe/blob/main/workflows/emergency-process.bpmn
- There are five BPMN elements in this example
<bpmn:startEvent id="StartEvent_1" name="Emergency Reported">
<bpmn:outgoing>SequenceFlow_1kfpnnj</bpmn:outgoing>
</bpmn:startEvent>
<bpmn:sequenceFlow id="SequenceFlow_1kfpnnj" sourceRef="StartEvent_1" targetRef="ServiceTask_0qrwam7" />
<bpmn:serviceTask id="ServiceTask_0qrwam7" name="Classify Emergency">
<bpmn:extensionElements>
<zeebe:taskDefinition type="classify" />
<zeebe:taskHeaders>
<zeebe:header />
</zeebe:taskHeaders>
</bpmn:extensionElements>
<bpmn:incoming>SequenceFlow_1kfpnnj</bpmn:incoming>
<bpmn:outgoing>SequenceFlow_18oq9dv</bpmn:outgoing>
</bpmn:serviceTask>
- Now once we created the workflow instance, it's stuck on Classify Emergency task, till worker complete it.
- In the Spring Boot DemoApplication.java class, you can see, worker complete the job when the type="classify"
- This will activate the name="building on fire" sourceRef=" sequence flow.
<bpmn:sequenceFlow id="SequenceFlow_18oq9dv" sourceRef="ServiceTask_0qrwam7" targetRef="ExclusiveGateway_1qo9hai" />
<bpmn:exclusiveGateway id="ExclusiveGateway_1qo9hai">
<bpmn:incoming>SequenceFlow_18oq9dv</bpmn:incoming>
<bpmn:outgoing>SequenceFlow_113qjg3</bpmn:outgoing>
<bpmn:outgoing>SequenceFlow_0dlz63c</bpmn:outgoing>
</bpmn:exclusiveGateway>
<bpmn:sequenceFlow id="SequenceFlow_0dlz63c" name="building on fire" sourceRef="ExclusiveGateway_1qo9hai" targetRef="ServiceTask_0w2zgz6">
<bpmn:conditionExpression xsi:type="bpmn:tFormalExpression">= emergencyType = "Fire"</bpmn:conditionExpression>
</bpmn:sequenceFlow>
- Then again work flow will stuck on "Coordinate with FireFighters" service task.
- Spring Boot application will create a worker and it will complete the task
- Finally flow will completed and it will end at endEvent
<bpmn:serviceTask id="ServiceTask_0w2zgz6" name="Coordinate with FireFightters">
<bpmn:extensionElements>
<zeebe:taskDefinition type="firefighters" />
</bpmn:extensionElements>
<bpmn:incoming>SequenceFlow_0dlz63c</bpmn:incoming>
<bpmn:outgoing>SequenceFlow_0nybe3i</bpmn:outgoing>
</bpmn:serviceTask>
<bpmn:sequenceFlow id="SequenceFlow_0nybe3i" sourceRef="ServiceTask_0w2zgz6" targetRef="EndEvent_1r97jjl" />
<bpmn:endEvent id="EndEvent_1r97jjl" name="Fire is extinguished">
<bpmn:incoming>SequenceFlow_0nybe3i</bpmn:incoming>
</bpmn:endEvent>
Elasticsearch Indices
You can see the indices are created by Camunda to export data into Elasticsearch.

References:
Scaling a distributed workflow engine (CamundaCon 2019)
https://github.com/camunda-community-hub/camunda-cloud-helm


